Let’s be honest. When most of us buy a security camera, we geek out over the specs, 4K resolution! Colour night vision! Two-way audio! We rush it home, peel off the plastic, and also, in a classic anti-climax, we stick it on the first nail we see beside the front door. It feels secure. It looks the part. But if your security camera positioning is an afterthought, you might as well be guarding your home with a high-tech potted factory.
Consider the tale of my neighbour, Bob. Bob invested in a top-of-the-line camera with all the bells and whistles. He mounted it proudly above his garage, pointing majestically down his driveway. One Tuesday, his theatre troll collection went missing.
The malefactor? Not captured. The camera’s field of view was so narrow and aimed so high that the troll-napper, who approached from the side yard, was as unnoticeable as a ninja. Bob had a demitasse-clear videotape of an empty driveway. The assignment? A camera’s intelligence is only as good as its position.
This comprehensive companion is your masterclass in security camera positioning. We’re moving beyond introductory” point it at the door” advice and diving into the strategic, nearly chess- suchlike game of placing your cameras to produce an impenetrable visual net.
We’ll cover the core principles, room-by-room ( and yard-by-yard) tactics, advanced technological considerations, and the pivotal legal geography in the USA. By the end, you’ll know exactly where to install your eyes for maximum security and peace of mind.
Chapter 1: The Foundational Principles of Expert Camera Placement
Before we climb any ladders, we need a solid plan. Effective security camera positioning isn’t random; it’s governed by a few non-negotiable rules.
Rule #1: Cover the Approach, Not Just the Entry
A camera focused solely on your front door will capture someone breaking in. A camera covering the walkway, porch, and door captures them approaching, which is infinitely more valuable for deterrence and early warning. Think in layers of defence.
Rule #2: Eliminate Blind Spots Like They’re Zombies
Blind spots are where security goes to die. Intruders instinctively seek them out. Your goal is to use overlapping camera angles so that one camera’s view picks up where another’s ends. This creates a seamless visual blanket over your property.
Rule #3: Mind the Height: The Goldilocks Zone
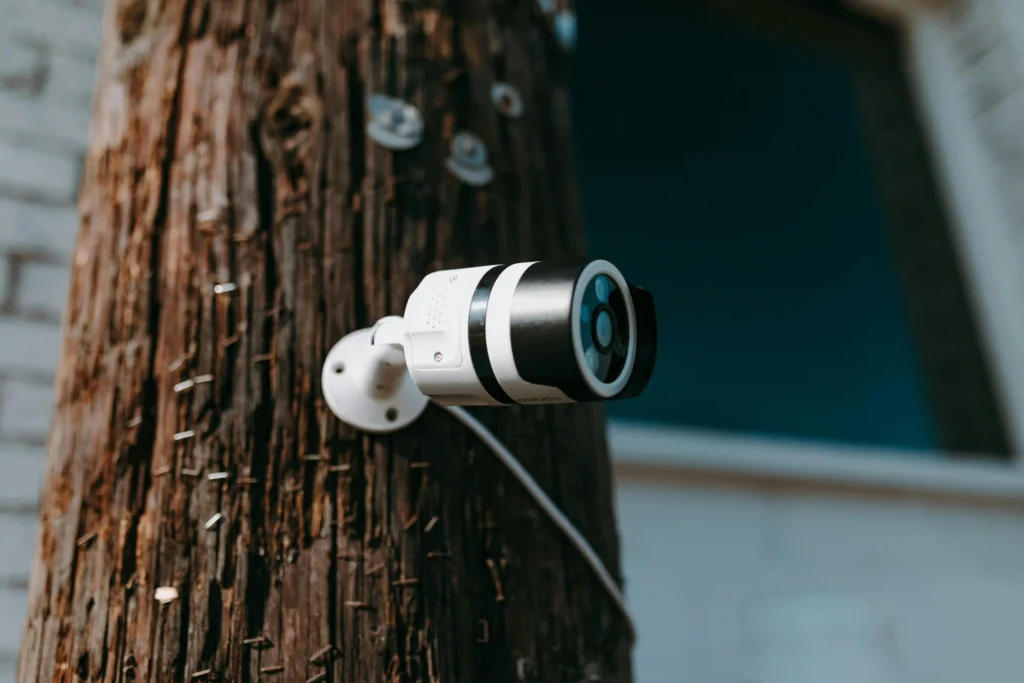
Mounting a camera too high( e.g., on an alternate-story- story eave) gives you a great view of the covers of headdresses and screens. Mounting it too low( within easy reach) makes it vulnerable to tampering, vandalization, or a quick spray of makeup. The sweet spot is generally 8 to 10 bases high. This is high enough to be out of easy reach but low enough to capture identifiable facial features.
Rule #4: Environment is Everything
That beautiful, all-seeing spot you picked? If the afternoon sun blasts directly into the lens every day, your footage will be a washed-out, useless white screen for hours. Consider the path of the sun, potential for lens flare from headlights, and how rain, snow, or spider webs might obscure the view.
Rule #5: Protect the Protector
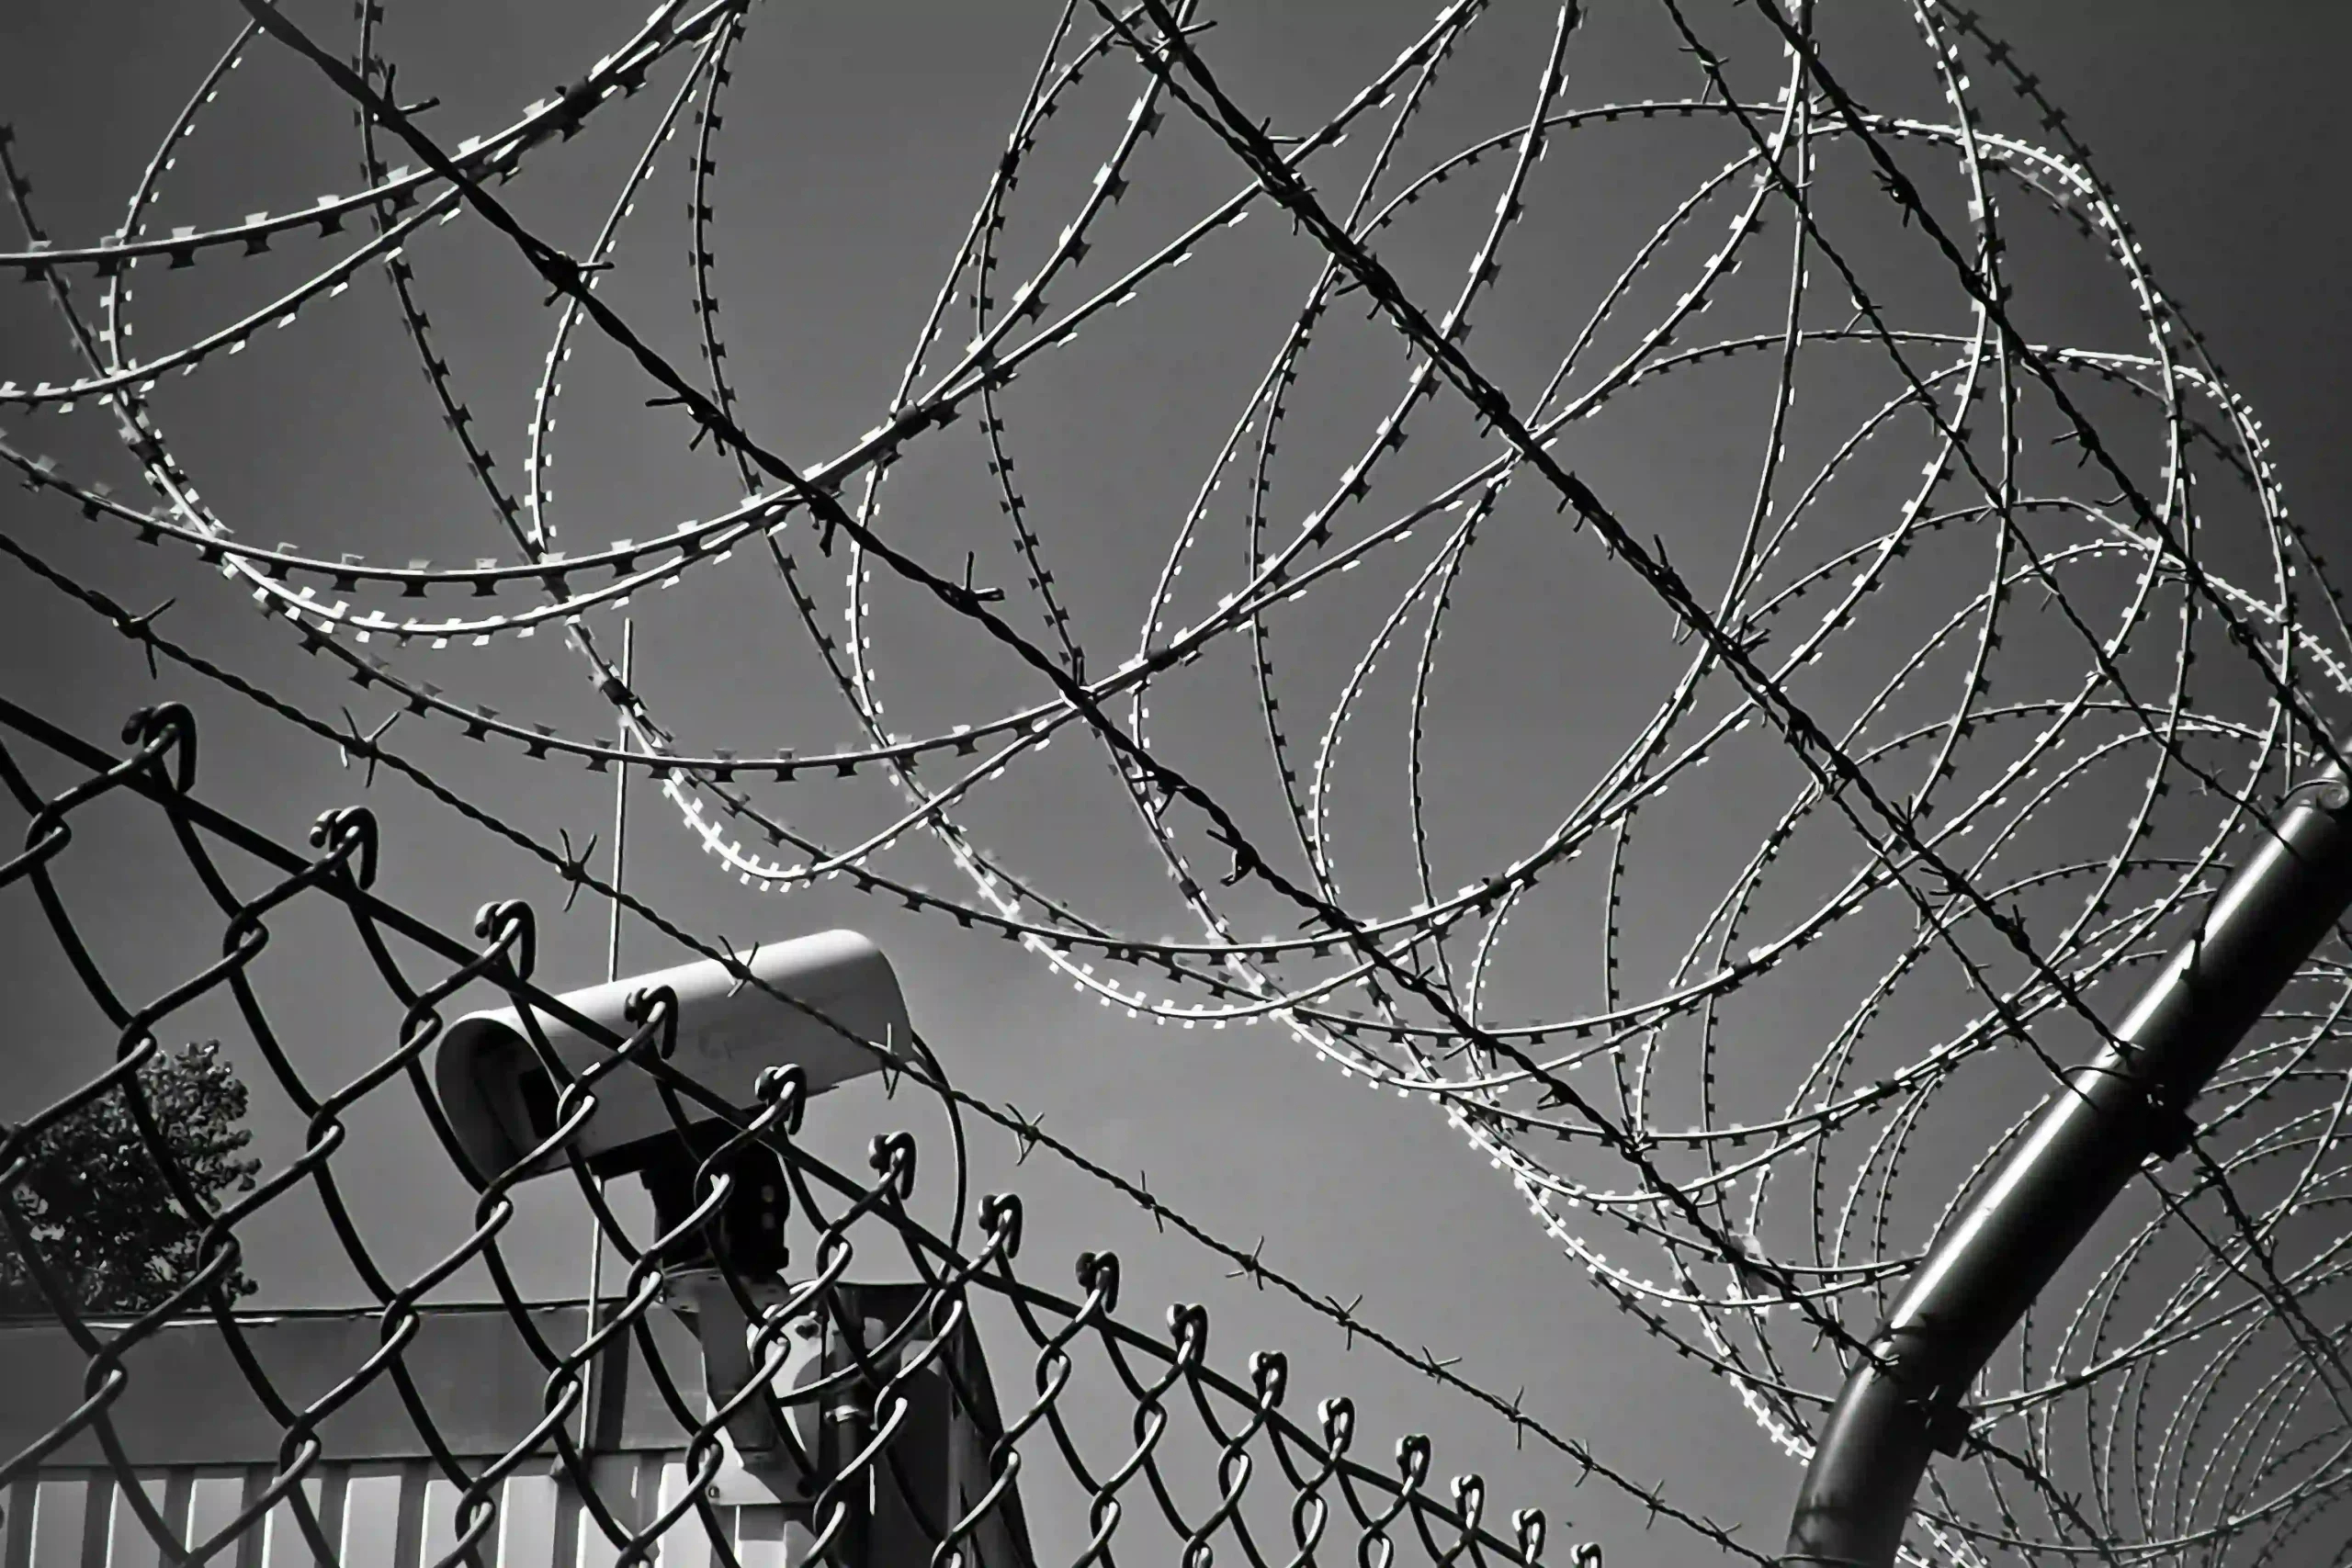
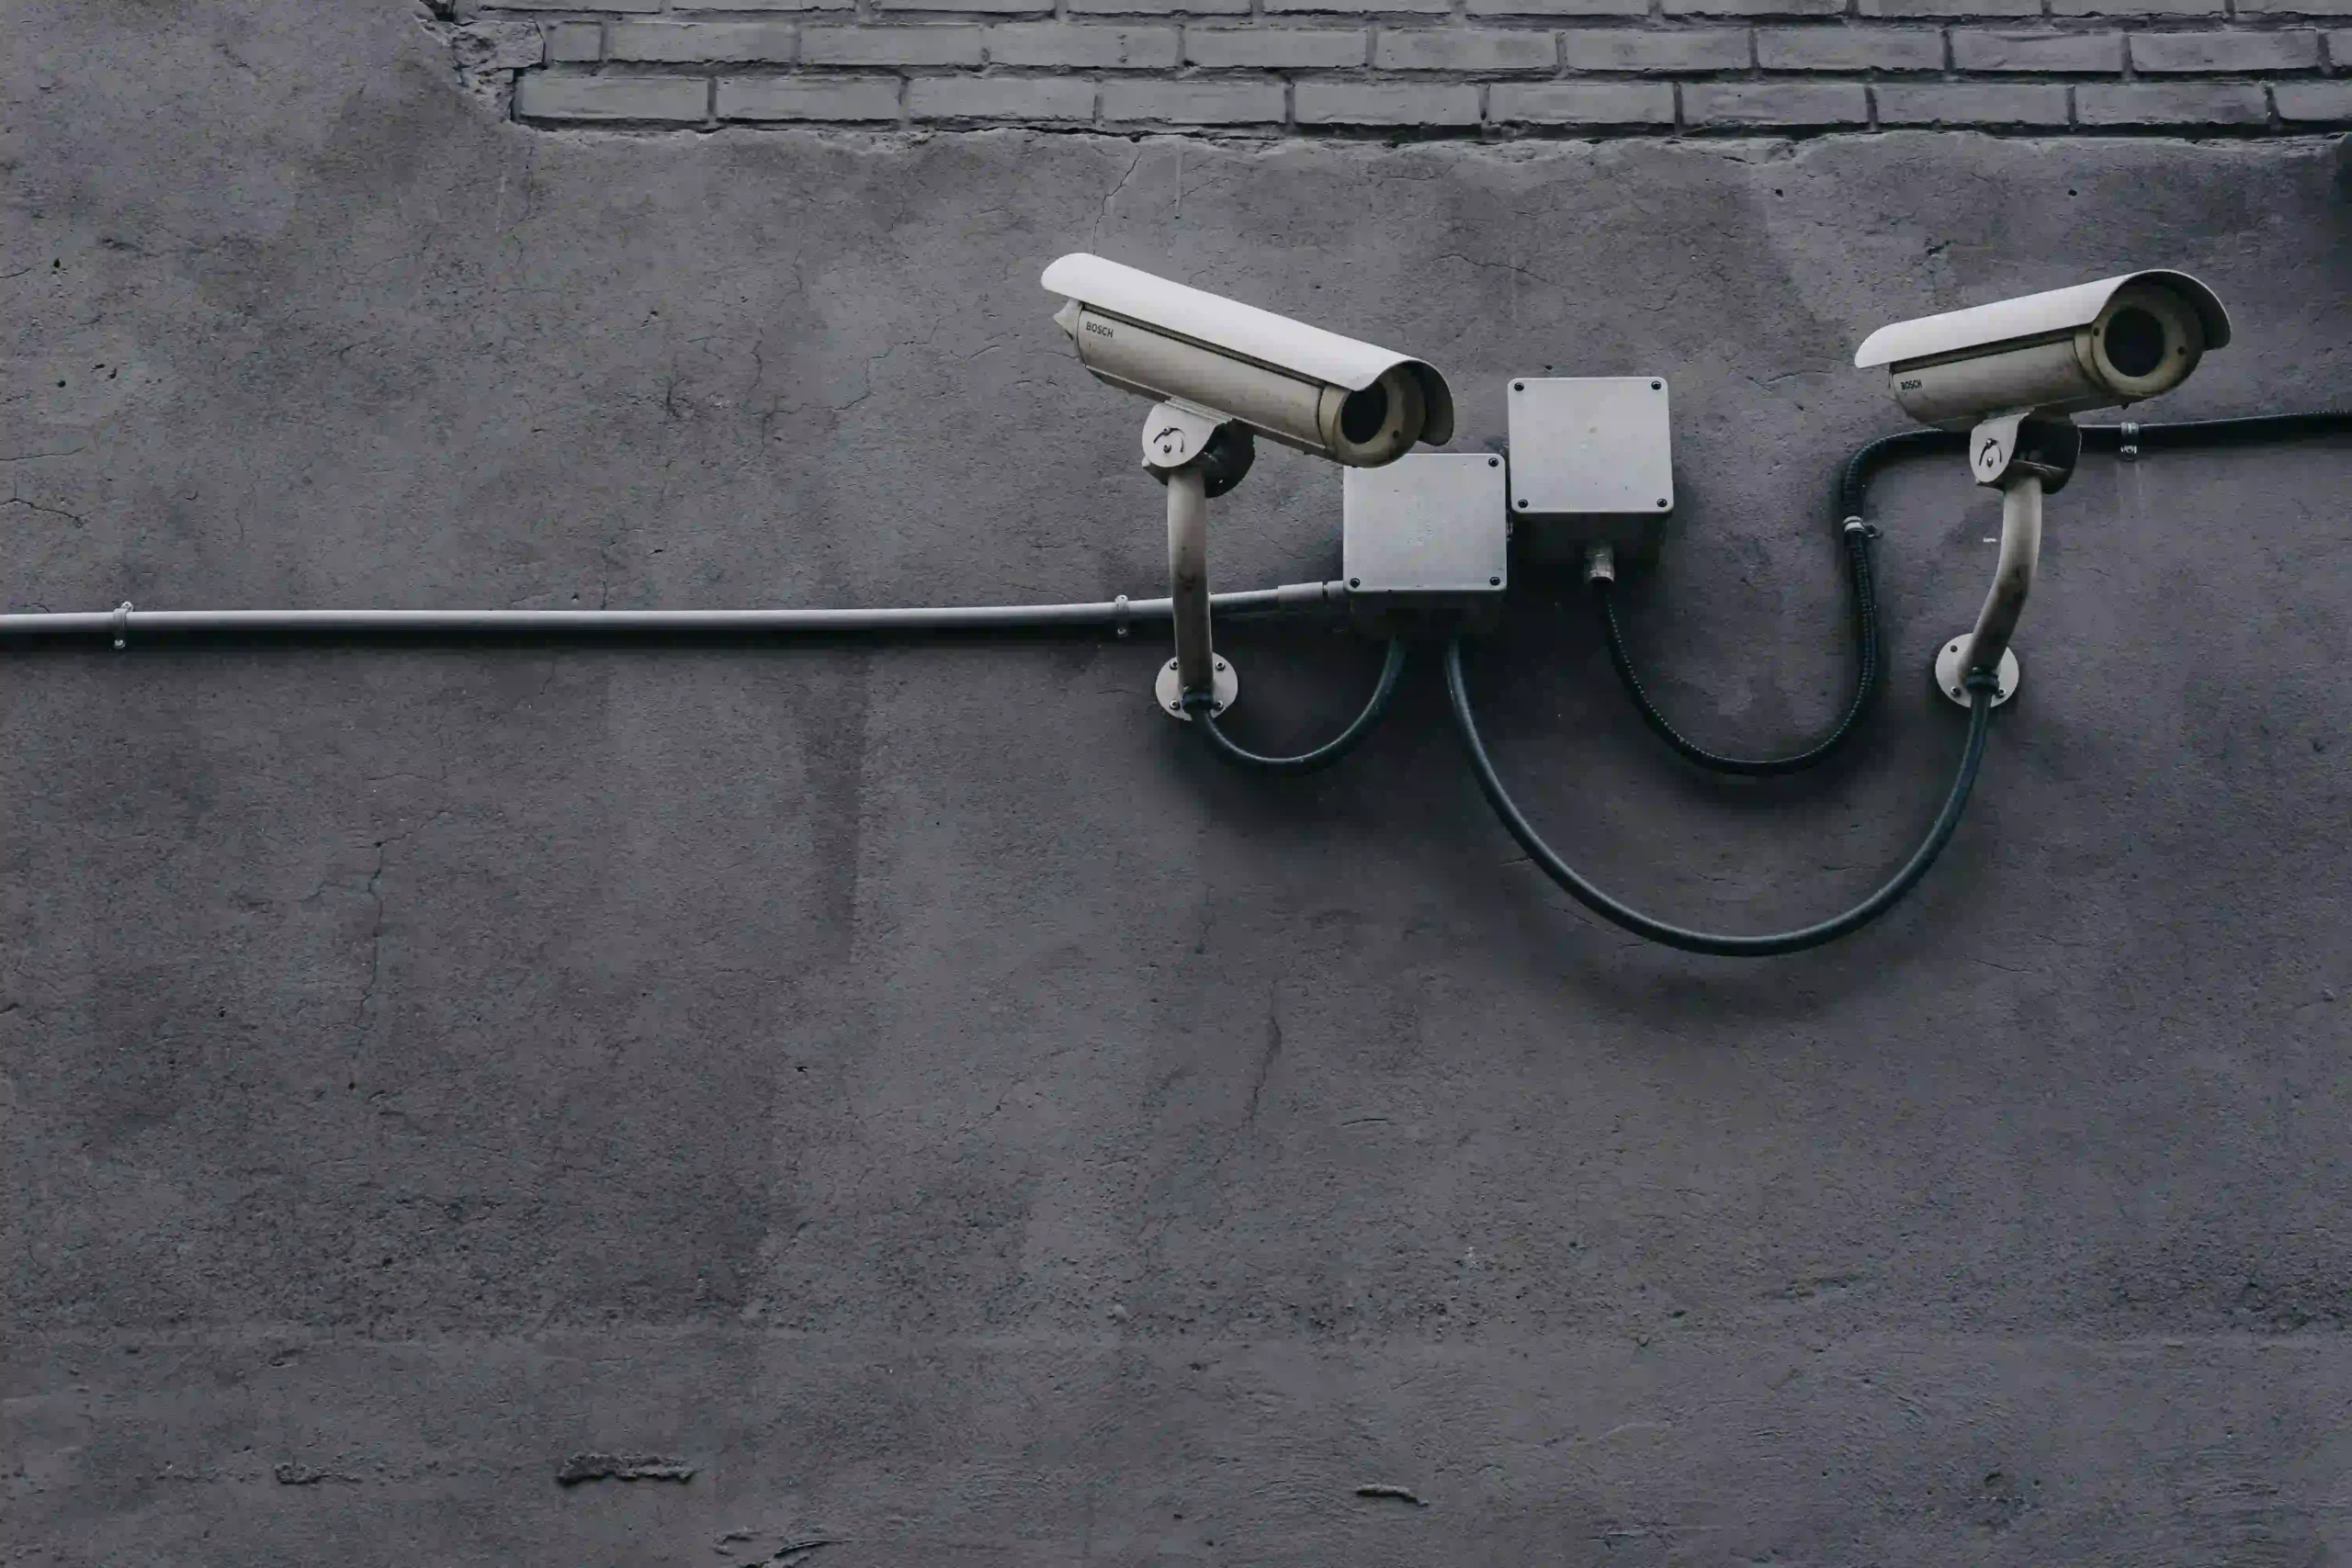
Your camera is a physical device. Place it under an eave or in a housing to shield it from direct rainfall and weather extremes. For accessible locations, consider a vandal-proof dome or a sturdy, tamper-resistant mount. A disabled camera is a worthless camera.
Chapter 2: The Strategic Blueprint: Location-by-Location Positioning
Now, let’s get specific. Here’s where to put your cameras for a comprehensive, USA-home-optimised system.
1. The Front Door: The Grand Central Station of Your Home
Why: Over 30% of burglars enter here. It’s also the hub for package delivery, guests, and general activity.
Optimal Positioning:
- Primary Camera: Mount at the 8-10 foot height, angled slightly downward to cover the entire doorway, the porch floor (for packages), and the approach (steps or walkway).
- Secondary Angle: Consider a second camera, like a doorbell cam, for a lower, head-on view perfect for facial identification. The combination is powerful.
- Pro Tip: Ensure the camera is not backlit by a bright sky or streetlight. An overhead porch light can provide good illumination for night vision without causing glare.
2. The Back and Sliding Glass Doors: The Silent Vulnerabilities
Why: These are often less visible to neighbors and streets, making them prime, quiet targets.
Optimal Positioning:
- Mount a camera high in a corner of the house, covering the entire door and the patio area.
- For sliding doors, ensure the camera’s field of view includes the track and latch, the most common point of attack.
- Pro Tip: If you have a patio cover, this is an ideal mount point to protect the camera and avoid back lighting.
3. First-Floor Windows (Ground-Level): The Forgotten Entry Points
Why: Especially for windows hidden by shrubs or fences.
Optimal Positioning:
- You don’t need a camera on every window. Use one wider-angle camera to cover a group of windows on a single side of the house.
- Position it to cover both the windows and the immediate ground in front of them.
4. The Garage and Driveway: Protecting Your Portals and Property
Why: Garages store cars, tools, and sports equipment. Driveways are where cars (and the valuables inside them) live.
Optimal Positioning:
- For the Garage Door: A camera above the door, facing down the driveway, captures both the door itself and any vehicle or person approaching.
- Inside the Garage: A camera on the interior back wall monitors the interior door into the house and the contents of the garage.
- Driveway Overview: A camera on the house facing down the full length of the driveway provides an early warning of any approach.
5. The Backyard and Perimeter: Defining Your Domain
Why: To monitor for intruders, unwanted animals, or simply keep an eye on kids and pets at play.
Optimal Positioning:
- Place cameras at the corners of your house, facing outward to cover the longest sight lines along your fence line or property boundary.
- If you have a detached shed or workshop, give it its own camera.
- Pro Tip: For large yards, consider battery-powered or solar-powered cameras with strong wireless signals to avoid complex wiring runs.
6. Interior Common Areas: The Final Layer
Why: If an intruder gets inside, you want to know their path and actions.
Optimal Positioning:
- Main Hallways/Stairways: These are natural choke points. A camera in a central hallway on the first floor can see activity from multiple rooms.
- Living Room/Kitchen: Placing a camera to cover these high-value areas (where electronics, safes, or liquor might be) can be useful.
- Crucial Consideration: Privacy is paramount. Never place cameras in bedrooms, bathrooms, or any area where there is a reasonable expectation of privacy. This is both an ethical and, in many states, a legal imperative.
Chapter 3: Beyond the Spot, Mastering the Tech for Optimal Positioning
Great security camera positioning also means configuring the tool to work with its location.
- Field of View (FOV): A 180-degree doorbell cam is perfect for a porch. A 90-degree fixed lens camera is better for a long driveway. Match the lens to the scene.
- Motion Detection Zones: Don’t let a swaying tree branch or passing car drain your battery and fill your alert log. Use the app to draw zones only on the areas that matter—your walkway, not the public sidewalk.
- Lighting Conditions: Test your camera’s night vision from its chosen spot before permanently mounting it. You may need to add subtle, non-dazzling IR illuminators or adjust existing outdoor lighting to eliminate harsh shadows.
- Wi-Fi Signal Strength: That perfect spot on the far corner of the fence might be a Wi-Fi dead zone. Check signal strength during installation. Consider Wi-Fi extenders or opt for wired/PoE (Power over Ethernet) cameras for critical, distant locations for a rock-solid connection.
Chapter 4: The Legal Landscape of Security Camera Positioning in the USA
You have a right to secure your property, but not at the expense of others’ privacy. Understanding the law is the final, critical piece of professional security camera positioning.
- Your Property is Fair Game: You can generally record video on any part of your own property.
- Audio is a Different Beast: Federal and state wiretapping laws (like California’s two-party consent law) are much stricter. Unless you are in a one-party consent state and are part of the conversation, recording audio without consent can be illegal. Many cameras allow you to disable audio recording, consider using that feature.
- Avoiding “Peeping Tom” Laws: Never position a camera where it can peer into a neighbour’s home, their enclosed backyard, or their bathroom window. Even an accidental overlap can lead to serious legal trouble and neighbourly feuds.
- Public Areas: Pointing a camera at the public street is typically legal, as there is no expectation of privacy in public. However, avoid focusing it directly on a neighbour’s front door across the street.
When in doubt, consult local ordinances and, when possible, have a courteous conversation with adjacent neighbours about your security setup.
Frequently Asked Questions (FAQs)
[sc_fs_multi_faq headline-0=”h3″ question-0=”What’s the single most important rule for security camera positioning?” answer-0=”Cover the approaches and implicit entry points, not just the doors and windows themselves, to maximise deterrence and early warning.” image-0=”” headline-1=”h3″ question-1=”How high should I mount my outdoor security cameras?” answer-1=”The ideal height is 8 to 10 feet off the ground, balancing a clear view of faces with protection from readily tampering or validations.” image-1=”” headline-2=”h3″ question-2=”Can I point my security camera at my neighbor’s house?” answer-2=”You should avoid directing cameras directly into a neighbours private spaces( windows, enclosed yard) due to sequestration laws and common courtesy.” image-2=”” headline-3=”h3″ question-3=”Do I need a camera for every window on the first bottom?” answer-3=”Not inescapably. Use wider-angle cameras to strategically cover groups of windows, focusing on those that are hidden or most vulnerable.” image-3=”” headline-4=”h3″ question-4=”Is it legal to record audio with my security camera in the USA?” answer-4=”Audio recording laws are strict. In numerous countries, you may need consent. It’s frequently safest to disable the audio recording point on outdoor cameras.” image-4=”” count=”5″ html=”true” css_class=””]
Conclusion: Positioning is Power
Investing in a security system is an act of taking control. But that control is illusory if your cameras are placed aimlessly. Thoughtful, strategic security camera positioning transforms your bias from simple reporters into an intelligent, visionary security grid. It’s the difference between watching a crime be and preventing it from passing in the first place.
Start with a chart of your property. Walk the border at different times of day. Identify the approaches, the vulnerabilities, and the eyeless spots. Use the principles in this companion to turn those sins into strengths. Your thing isn’t just to have cameras, it’s to have content. So put down the drill, pick up the tablet, and plan your positions. Your peace of mind( and your theatre pixies) will thank you.